ODBC Bridging to JDBC Connector
Create a DSN to identify and authenticate the Indexima data source
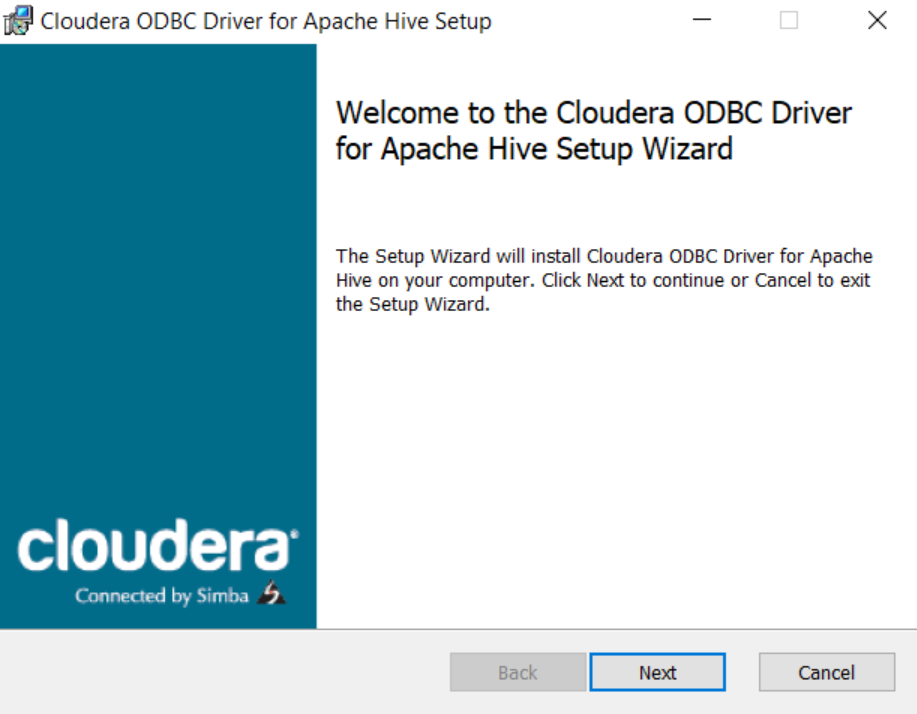
INDEXIMA connector use standard Hive ODBC drivers from Hadoop distributions. Check section Installing ODBC / JDBC drivers for ODBC / JDBC drivers installation.
In this example, we will use the Cloudera 64 bit version.
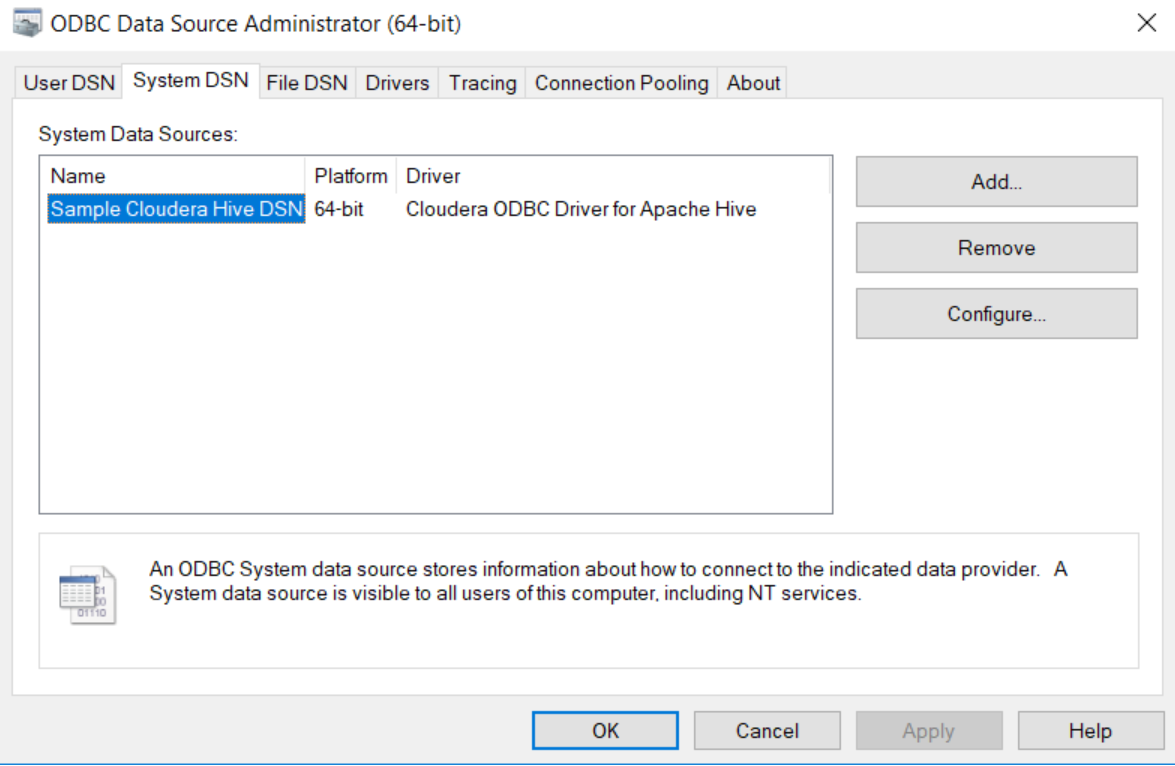
Once installed, run the MS ODBC Data Sources (64-bit) located at Control Panel\System and Security\Administrative Tools
Select the tab System DSN and the corresponding driver. Click the button Configure
Standard Authentication
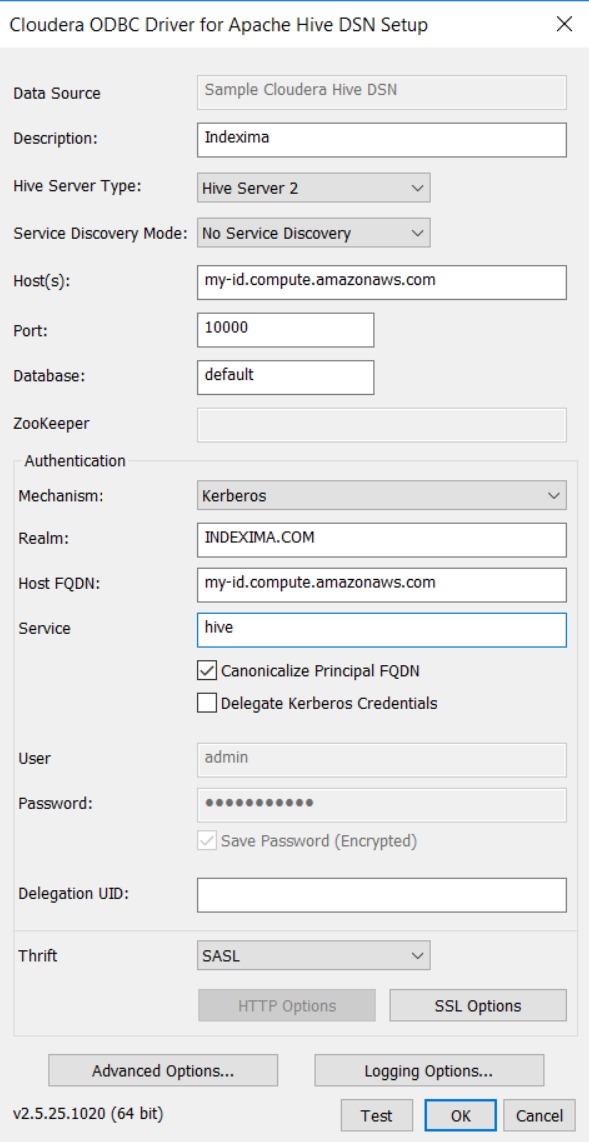
Name your DSN with the description and fill the fields: Host, Port, Database , user name and password that your INDEXIMA administrator provide you.
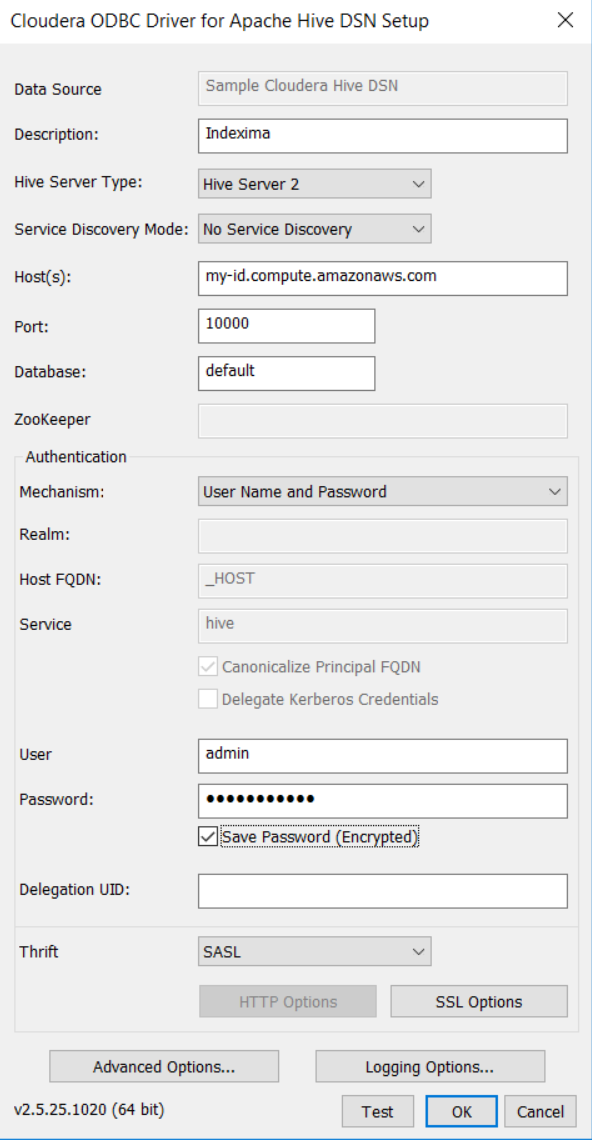
Leave field Hive Server Type to Hive Server 2
Leave Authentication to User Name or User Name and Password when using standard Indexima authentication.
Kerberos Authentication
Make sure your workstation is already setup for Kerberos authentication.
Select Kerberos if you Indexima Data Engine is using Kerberos authentication and fill also fields: Realm, Host FQDN and service name with values provided by your security administrator as show as below:
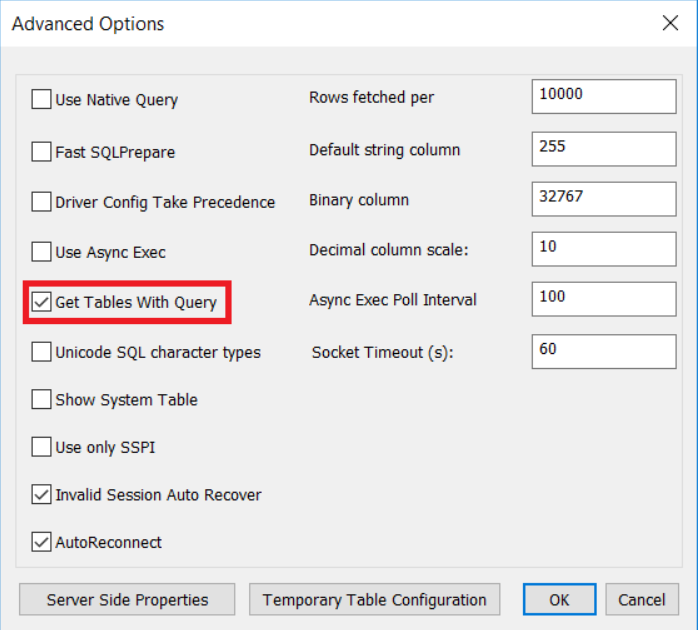
Then click on Advanced Options button. The following dialog appears. Make sure the option Get Tables With Query is checked then click on OK button.
At least, click on Test button to verify if your data source is reachable as show in the following dialog.

Setup INDEXIMA connection in QlickView
Run QlickView and select File then New
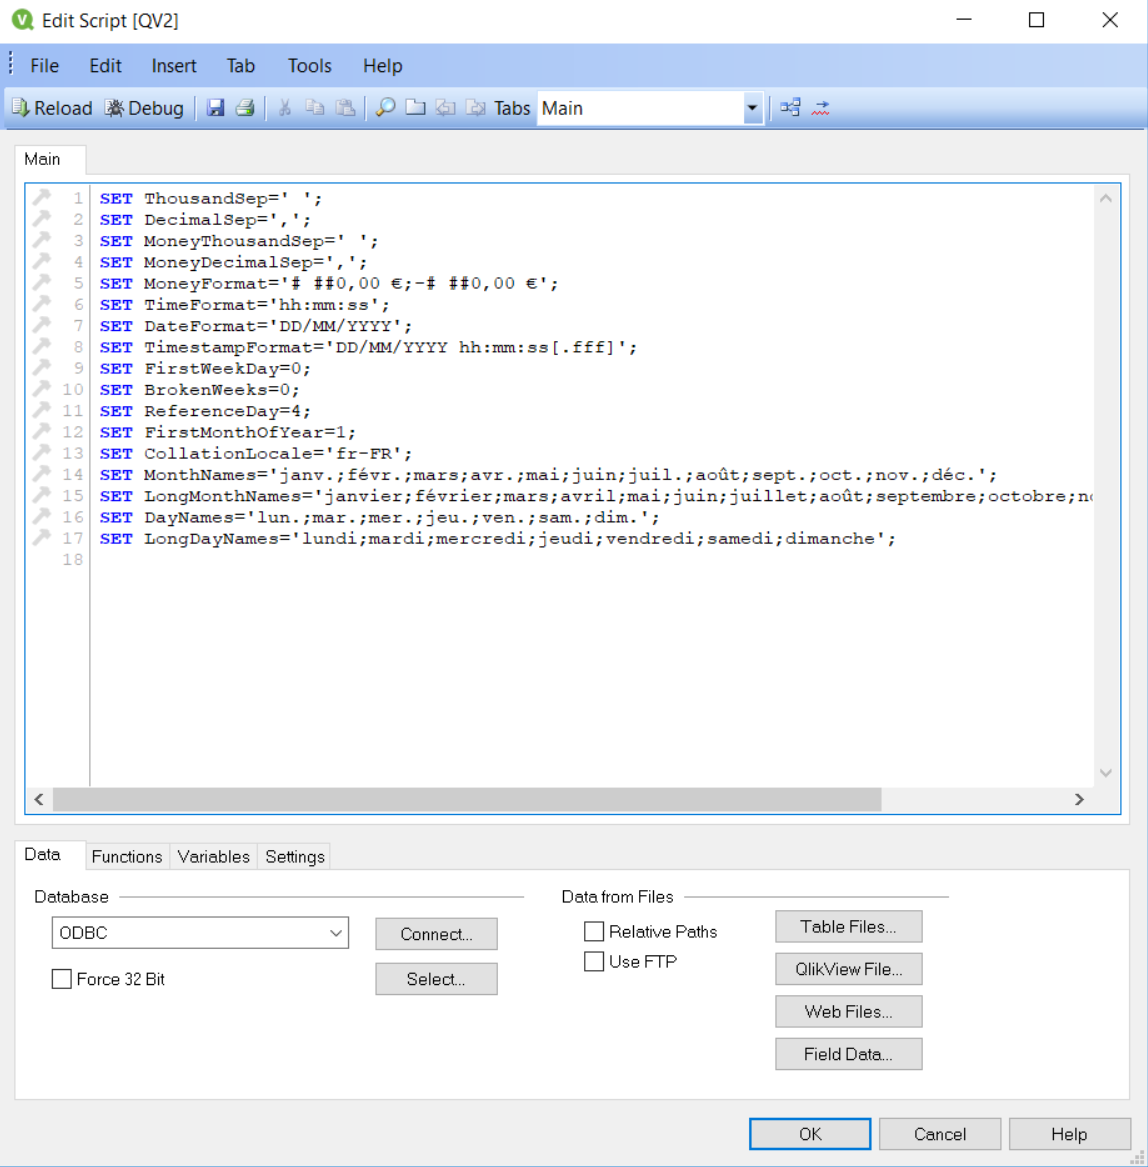
Exit the Getting Started Wizard: Create a new document wizard and select File and Edit Script to get the following dialog:
Click on the button Connect... and provide the credential of the database
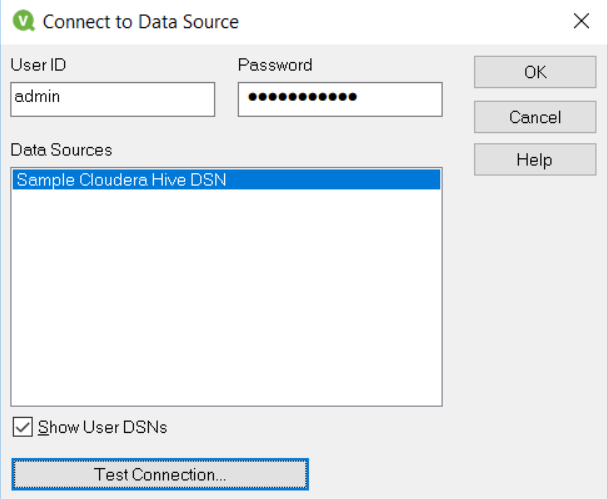
You can test again the connectivity by clicking on the Test Connection button. When done. click on the OK button.

A connection line should appears in the current script. Click on the Select... button to select the table and associated columns
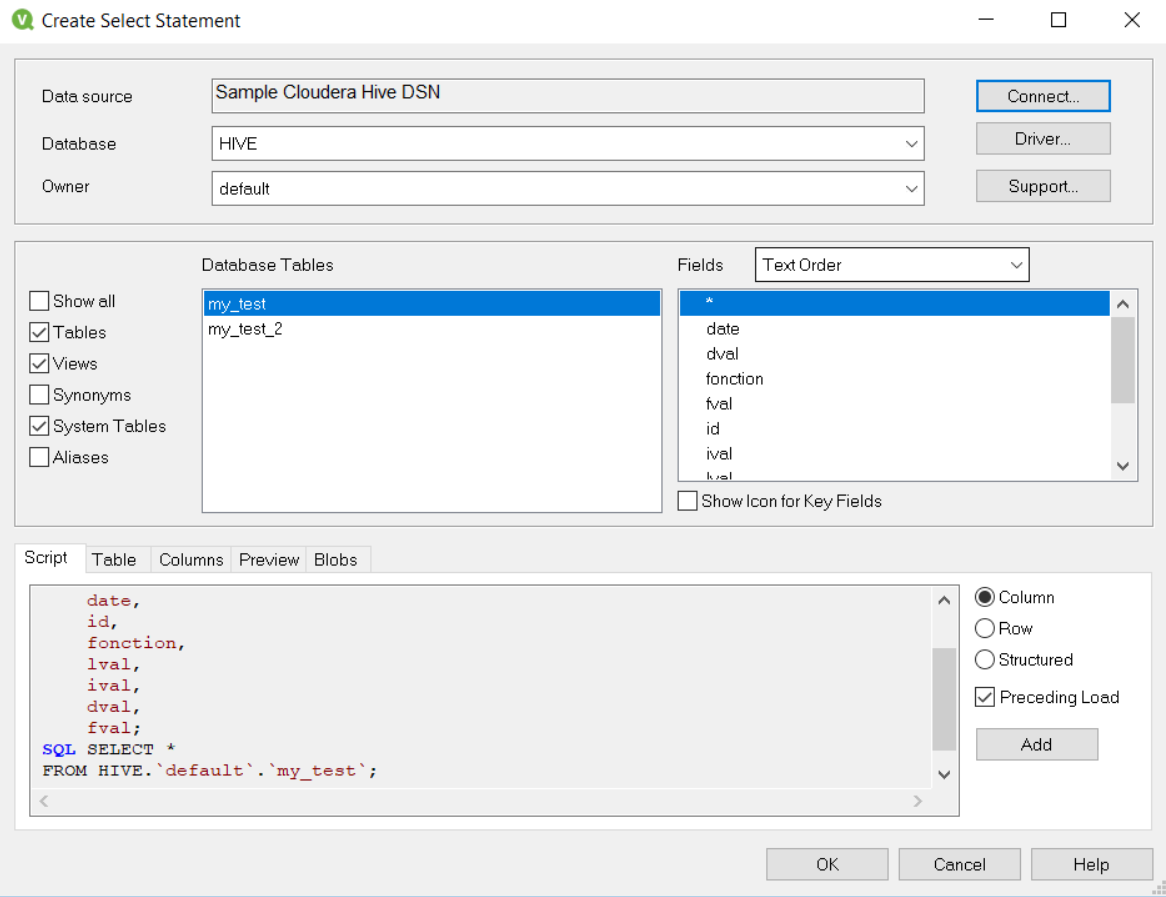
Pick up the table and the fields you need for your application. You should see the script section changing according your selection. Once done, click on the OK button.
The script will be inserted in the final QlickView setup dialog as shown below:
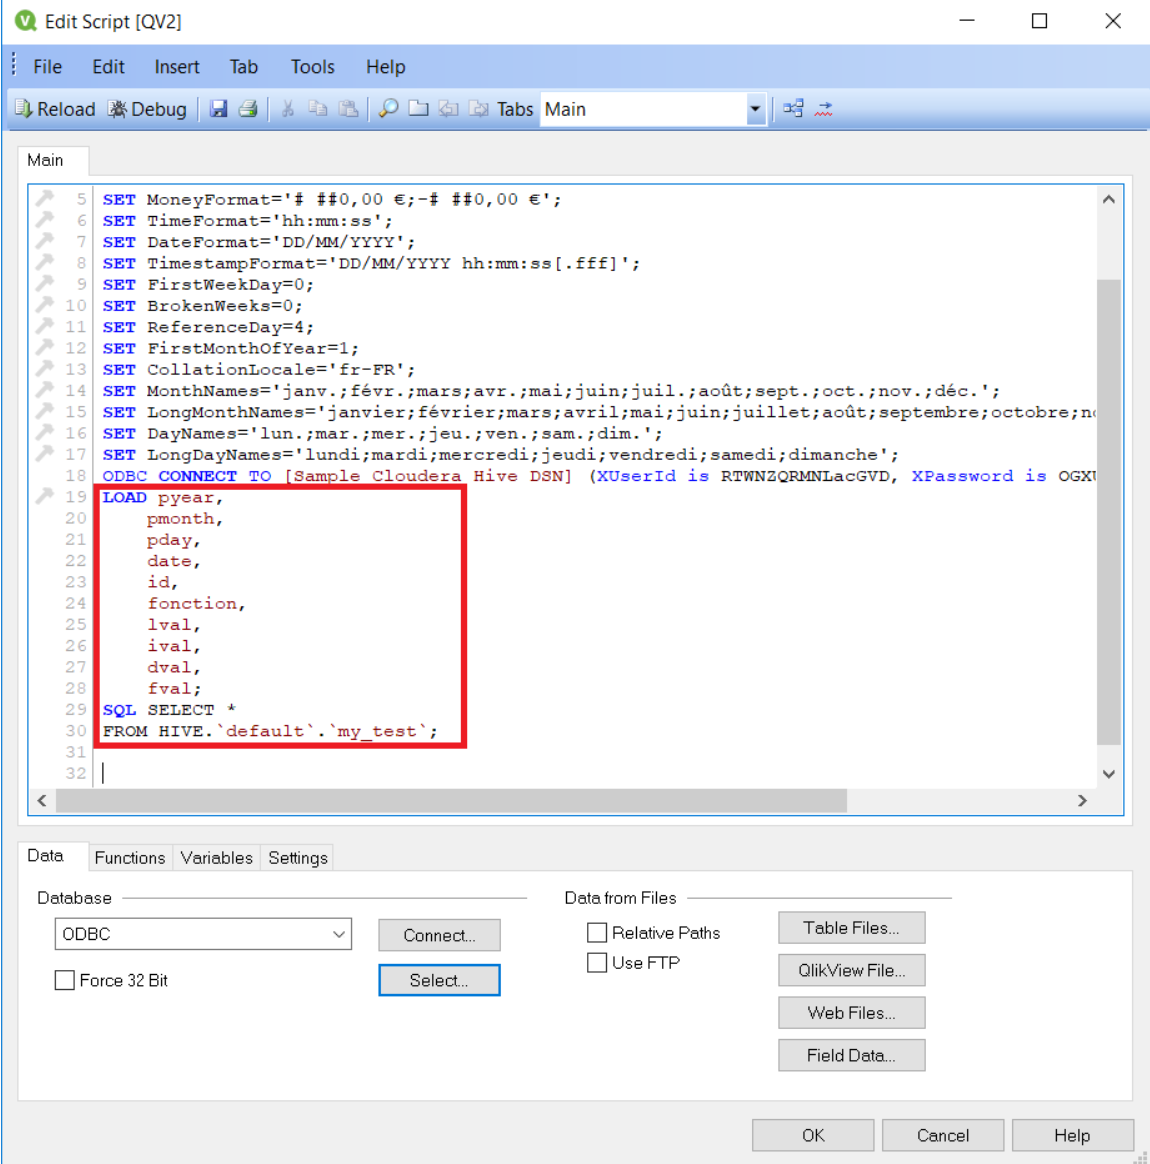
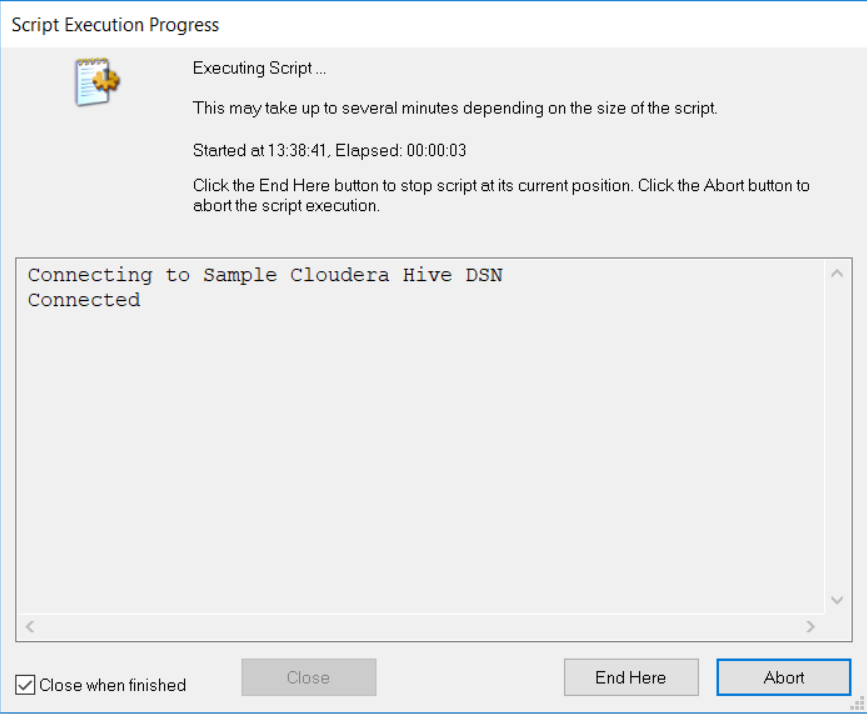
Click OK button. Now, from the main menu, select File and Reload. QlickView will propose to save your script before loading data from your data base.
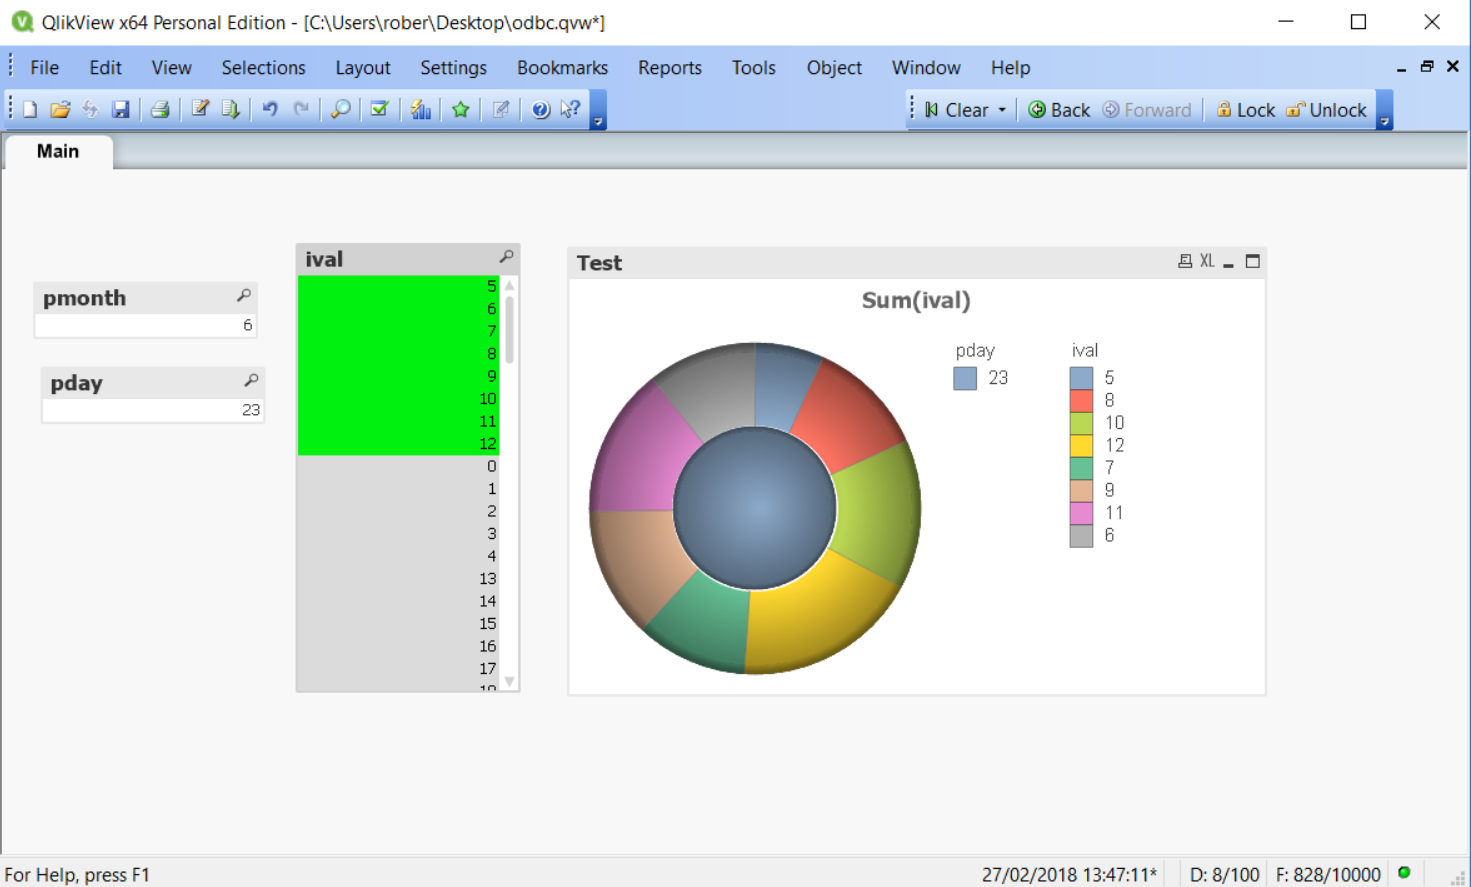
Then create and edit QlickView objects as your application require.